Planning the lighting layout for a new home is one of the most exciting parts of the design process. It shapes how every room will feel for years to come. The right ceiling lights do more than brighten a space. They set the mood and make daily routines effortless.
Whether you are drawn to the clean lines of an LED panel or the focused warmth of a ceiling cob light, getting the layout right from the start saves time and money. This guide walks you through the essentials so you can build a home that feels just right.
Why Your Ceiling Lighting Layout Matters
Lighting is often treated as an afterthought during construction, but it deserves attention early on. A thoughtful layout ensures every room has the right balance of brightness and comfort. Poorly placed ceiling lights leave dark patches or make a room feel flat.
Read More: Electrician Cedar Park: Why Expertise Matters for Safe and Modern Electrical Solutions
Good placement also affects energy bills. When lights are positioned efficiently, you need fewer fixtures and less wattage. That is especially true with options like LED panel lights, which spread illumination evenly without excessive power use.
Understanding Different Types of Ceiling Lights
Before mapping out a layout, it helps to know what you are working with. Here are the most common types of ceiling lights for a new home.
LED Panel Lights
These slim, flat fixtures sit flush against the ceiling and produce uniform light across a broad surface. An LED panel is a popular choice for kitchens, home offices, and utility spaces because it minimises shadows and distributes brightness evenly. They come in various colour temperatures, making them versatile for different rooms.
Ceiling COB Lights
A ceiling cob light uses chip-on-board technology, packing multiple LED chips into a single module. The result is a concentrated beam that works beautifully for accent lighting and task areas. These lights are compact and offer excellent colour rendering, making them popular in living rooms and reading nooks.
Recessed Downlights
Installed directly into the ceiling, recessed downlights offer a clean, streamlined look. They work well for general ambient lighting and pair nicely with other fixture types for a layered approach.
Pendant and Chandelier Fixtures
These decorative statement pieces hang from the ceiling. While not typically the backbone of a layout, they add personality to dining rooms, entryways, and bedrooms.
Room-by-Room Layout Tips
Every room has a different purpose, and your ceiling lighting layout should reflect that. Here is a simple breakdown.
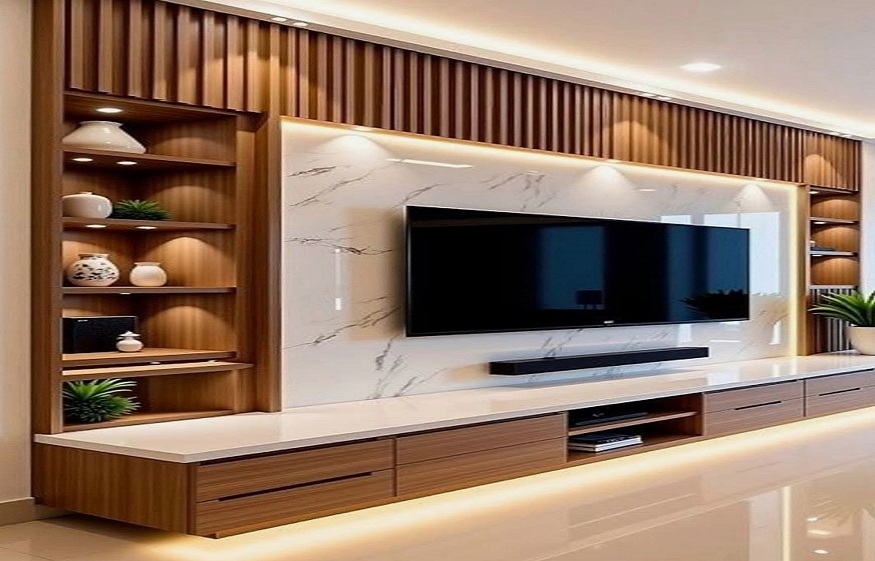
Living Room
- Use recessed downlights for ambient light and a ceiling cob light to highlight artwork or a feature wall.
- Consider a pendant or chandelier over the central seating area for a warm focal point.
- Spread fixtures across the room rather than clustering them in the centre.
Kitchen
- An LED panel works well over prep and cooking zones where even, shadow-free light is important.
- Add focused ceiling lights above the sink and countertops.
- Keep spacing consistent to prevent dark spots between fixtures.
Bedroom
- Opt for soft, warm-toned ceiling lights to create a restful atmosphere.
- A small LED panel near the wardrobe area adds practical brightness without disturbing the calm.
- Dimmer-compatible fixtures give you flexibility between relaxation and getting ready.
Bathroom
- Use moisture-rated recessed lights for safety.
- Place ceiling cob lights near the mirror for focused, high-quality illumination.
- Stick to cool or neutral tones that mimic natural daylight.
Hallways and Entryways
- Space smaller ceiling lights evenly along the hallway to avoid dark zones.
- A single statement fixture near the front door sets a welcoming tone.
Key Spacing and Placement Guidelines
Getting the spacing right is just as important as choosing the right fixtures. These general rules help you plan a balanced layout.
- Divide the ceiling height by two to find ideal fixture spacing. For a 3-metre ceiling, space lights roughly 1.5 metres apart.
- Keep recessed lights at least 60 to 90 centimetres from walls to prevent harsh shadows.
- Place task lights like an LED panel or ceiling cob light directly above the work surface, not behind the user.
- In open-plan spaces, use different fixture types to define zones without physical dividers.
Common Mistakes to Avoid
Even with the best intentions, a few common missteps can affect the final result. Watch out for these.
- Relying on a single central light for the entire room, leaving the edges dim.
- Choosing fixtures based on looks alone without considering light output and spread.
- Mixing warm and cool colour temperatures in the same room, which feels disjointed.
- Forgetting to plan for dimmers, especially in rooms where the mood shifts through the day.
- Overcrowding the ceiling with too many fixtures, which looks cluttered and wastes energy.
Planning Ahead for Future Flexibility
Your needs will change over time, and your lighting should adapt. Consider leaving provisions for additional wiring or junction boxes. Smart-compatible ceiling lights let you adjust brightness and colour from your phone.
Read More: A Beginner’s Guide to Cleaner, Safer Air: What You Can Do at Home
Choosing widely available fixtures like standard-size LED panel lights and ceiling cob lights makes future replacements simpler. You do not want to rely on a niche product that is hard to source later.
Conclusion
A well-planned ceiling lighting layout transforms a new house into a home that feels comfortable from the moment you walk in. By understanding how different ceiling lights work together and spacing them correctly, you create a foundation that serves you well every day.
Sketch out your rooms, consider where you need task lighting versus soft ambient glow, and explore options like LED panel lights for broad coverage and ceiling cob lights for focused detail. The planning you do now will pay off in comfort, savings, and a home that feels like yours.